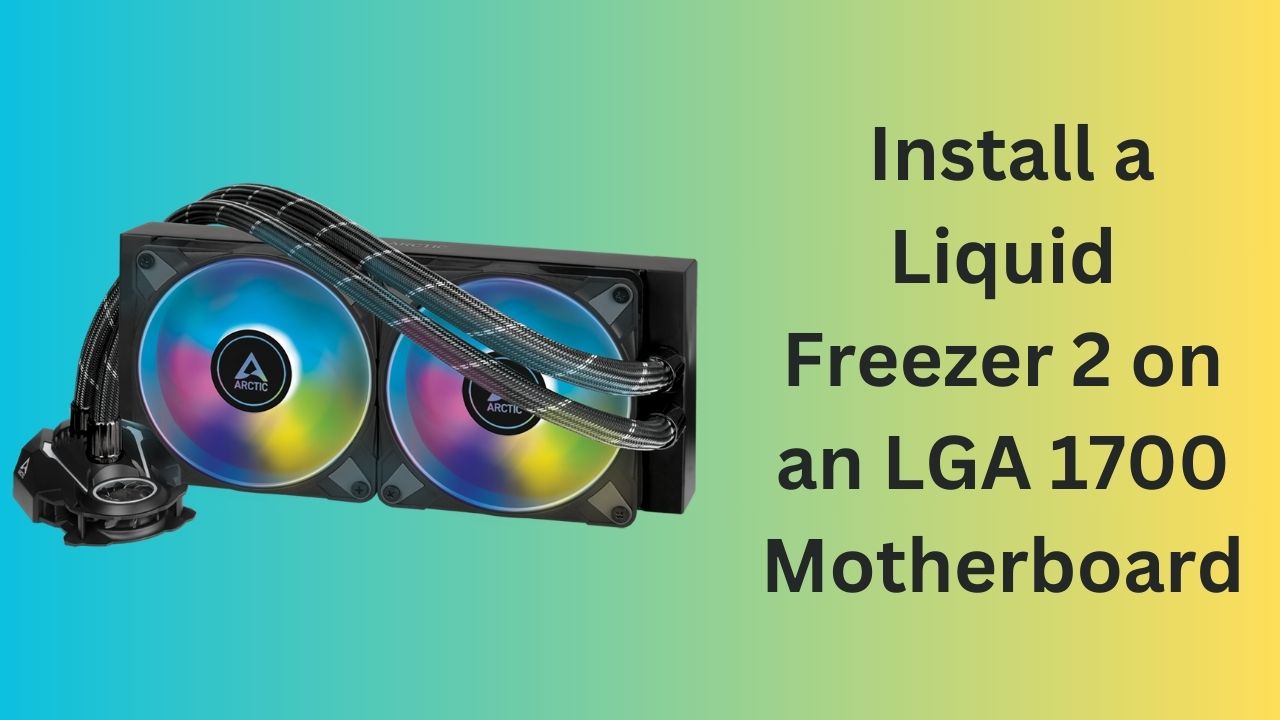
Today, we’ll walk you through the process of installing a Liquid Freezer 2 cooler on an LGA 1700 motherboard. In this guide, we’ll focus on mounting the pump block to your motherboard, step by step.

Step 1: Unboxing and Inventory Check
Upon opening the Liquid Freezer 2 kit, take a moment to assess its contents. We recommend using an older revision of the kit, as shown in the bottom right corner of your screen, which includes the LGA 1700 mounting kit. Ignore any radiator mounting components, as we won’t be covering that here.
Step 2: Selecting the Right Parts
Identify the necessary components for the installation. You’ll primarily need the 13-millimeter long standoffs, two mounting clips, and the corresponding screws. Note that you should not use the metal washers provided.
Step 3: Attaching Mounting Clips
Secure the mounting clips onto the pump block using the provided screws. There is only one hole on each clip, making this step straightforward.
Step 4: Removing Plastic Film
Don’t forget to remove the plastic film covering the cold plate of the pump block for optimal performance.
Step 5: Customizing for Z690 Motherboards (Optional)
For some Z690 motherboards, you may need to make adjustments to accommodate the pump housing. You can remove a section of the housing by unscrewing it from the bottom of the pump block. This step may not be required for all motherboards.
Step 6: Preparing the Backplate
Gather the backplate and four nuts along with their corresponding rubber o-rings. Insert the nuts through the backplate, positioning them in the corners of the grooves. Place rubber o-rings on each nut.
Step 7: Preparing the Motherboard
Position spacers around the socket’s holes on both the front and back of the motherboard. Ensure each hole has a spacer.
Step 8: Attaching the Backplate
Place the backplate onto the motherboard, aligning the nuts with the socket holes. Make sure the motherboard sits securely on the backplate.
Step 9: Installing Standoffs
Screw in the four LGA 1700 standoffs evenly, ensuring they are snug but not over-tightened. Check for even pressure on all four corners of the backplate.
Step 10: Applying Thermal Paste
Apply a layer of thermal paste evenly from corner to corner on the CPU.
Step 11: Attaching the Pump Block
Position the pump block over the CPU, aligning the standoffs with the corresponding slots in the corners. Start threading the four thumb nuts evenly to secure the pump block in place.
Step 12: Remaining Hardware
Any remaining hardware in your kit can be used to mount the radiator to your PC case. The specific components may vary depending on your radiator size.
Step 13: Connecting the Pump
Finally, plug the four-pin PWM connector into your choice of headers such as pump fan, pump fan one, or CPU optional near your motherboard socket.
Conclusion:
Thank you for joining us in this installation guide. If you found this content helpful