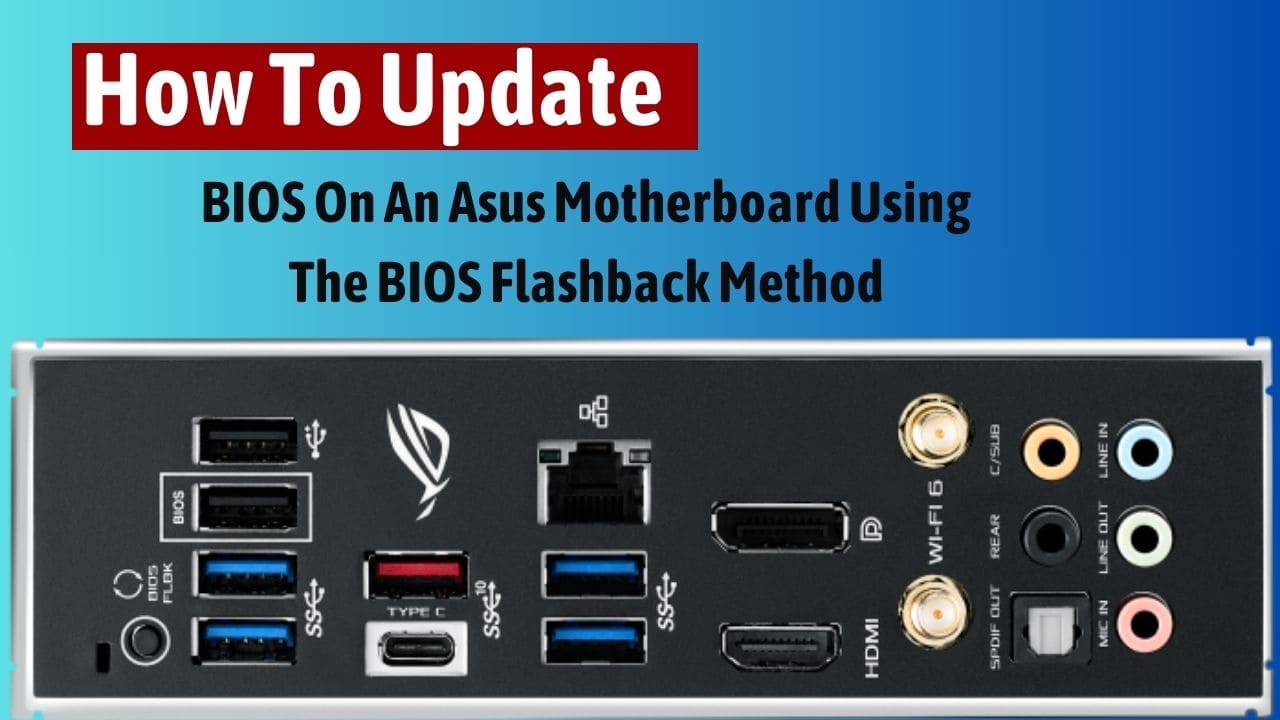
In this article. I will show you how to update the BIOS on an Asus motherboard using the BIOS flashback method. This can be done on a fully assembled PC or just a motherboard with no components attached. I will be using an already assembled PC since that is the only Asus motherboard we have at this time. If you are doing this on an assembled PC, do not power up the computer at any point during the update process. Do note that after the BIOS update, it will be reset to factory defaults, so any custom settings you will want to note down or back up your settings, which we will not cover in this article. If you were doing this on a new motherboard without components, you will just need a power supply connected with the 24-pin ATX power.

Required Items for the Update:
- The motherboard or PC that you’re going to be updating the BIOS on.
- A USB drive (32 gigabytes or less and preferably USB 2.0, but 3.0 will usually work).
- A power supply.
- A PC connected to the internet to prepare your USB drive.
Step 1: Insert and Format the USB Drive
- Plug in the USB drive to your computer.
- Right-click on the USB drive listed and select “Format” from the context menu.
- Ensure that the file system selected is FAT32, and you can leave the rest of the options as their defaults.
- Click on the “Start” button to start formatting the drive.
- When the warning pops up about erasing all data on the disk, click OK.
- After a few seconds, you should get the format complete dialog, and you can click OK.
- Close the format dialog.
Step 2: Download the BIOS File
- Go to the support page for your specific motherboard.
- Navigate to the “Support” tab.
- Navigate to the “Drivers and Tools” area, followed by the “BIOS and Firmware” section.
- At the top of the list, you will find the latest BIOS. If you are looking for a previous version, expand the section to find the one you are looking for.
- Once you’ve selected the BIOS that you’re updating, click on the “Download” button and save it directly to the USB drive you previously formatted.
Step 3: Extract and Rename the BIOS Update File
- After the file is downloaded, navigate to the USB drive.
- Right-click on the zip file and select “Extract All” from the context menu.
- Delete everything after the backslash so that it is extracted to the top-level directory.
- Click “Extract.”
- After a few seconds, it should finish, and you can then delete the zip file.
- Double-click on the “biosrenamer.exe” file to rename the update file. Once done, press any key.
- You should now have a renamed update file, and you can delete the renamer file so that only the BIOS update is on the USB drive.
- Safely eject the USB drive.
Step 4: Update the Motherboard
- If updating a motherboard without components installed, connect the ATX 24-pin connector.
- Attach the power cable to the power supply.
- Switch on the power supply.
- If your PC is already assembled, do not power it up.
- Locate the USB port specific for the BIOS update (usually marked) and insert the USB drive into that USB port.
- Locate the BIOS flashback button, press and hold it for a few seconds, and the light should start flashing.
- Leave the motherboard; this can take several minutes.
- If the light only flashes briefly and then stops, most likely the BIOS update did not happen. In this case, try a different USB drive.
- Do not interrupt the process; let it complete.
Conclusion:
Now that the lights have stopped flashing, wait for a short period and then remove the USB drive. Reboot the system to see if the update succeeded.
As we can see here, the BIOS is updated to the latest version, and we’re all set. We hope you found this article. Let us in the comment box.