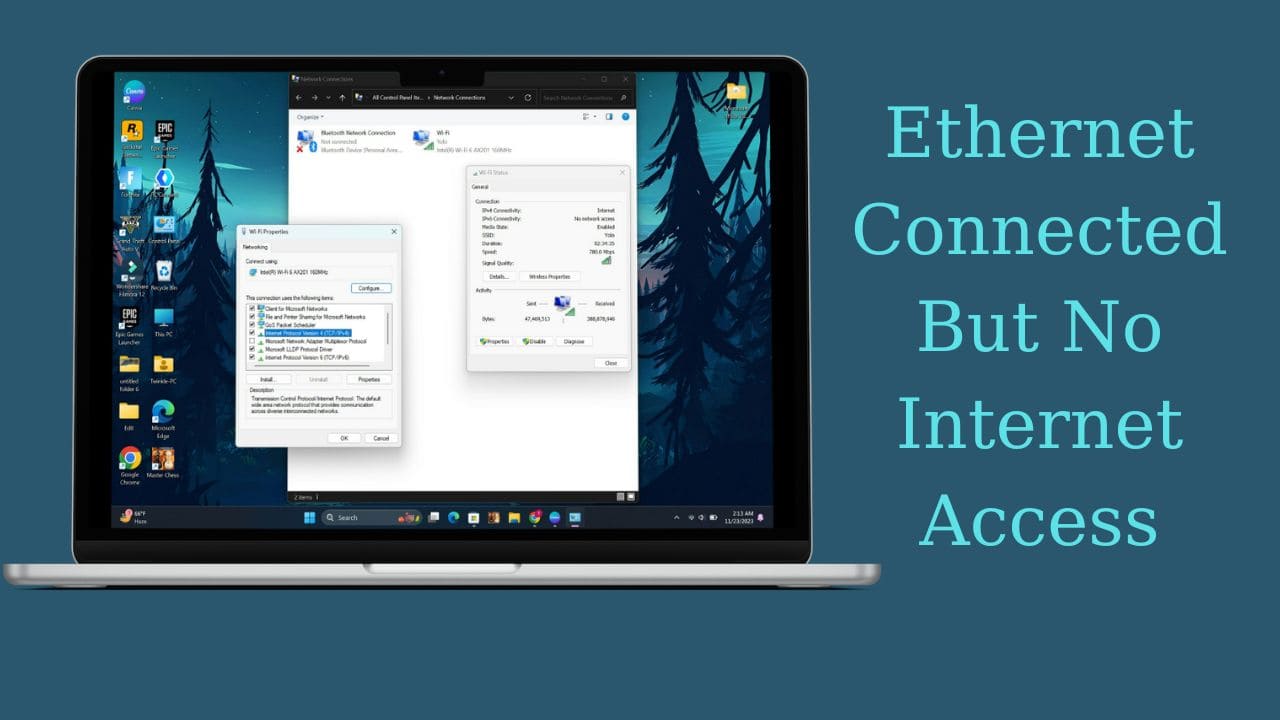
In this article, we will address a common issue faced by many users: having an Ethernet connection that shows as connected but provides no internet access. Despite the physical connection being fine, there seems to be a problem. The good news is that this issue is fixable, and we’ll guide you through some effective and easy steps to resolve it. By following these steps, you’ll likely be able to fix it on your own.
Step 1: Run the Troubleshooter
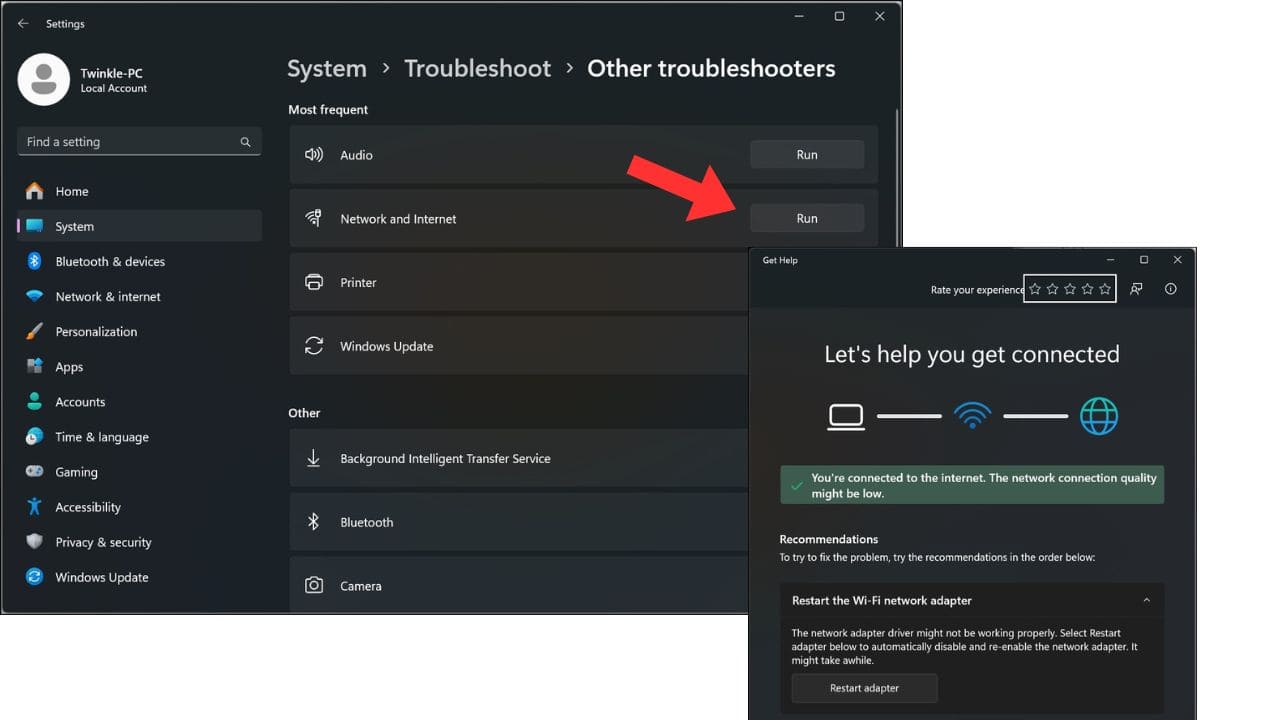
First, let’s start with the basics. Run the network and internet troubleshooter provided by Windows. Here’s how you can do it:
- Type “troubleshoot” in the search bar and select “Troubleshoot settings.”
- Select “Other troubleshooters” and launch the “Network and Internet troubleshooter.”

Step 2: Check Network Settings
Next, verify your network settings to ensure there are no limitations causing the issue:
- Right-click on the Start icon and select “Settings.”
- Go to “Network and Internet” and find the “Ethernet” option.
- Check if “Metered Connection” is turned on. If yes, turn it off.
- Verify whether your network is set to “Private” or “Public.” Adjust it according to your preference.

Step 3: Update Ethernet Driver
Outdated or faulty drivers can cause connectivity issues. Update your Ethernet driver by following these steps:
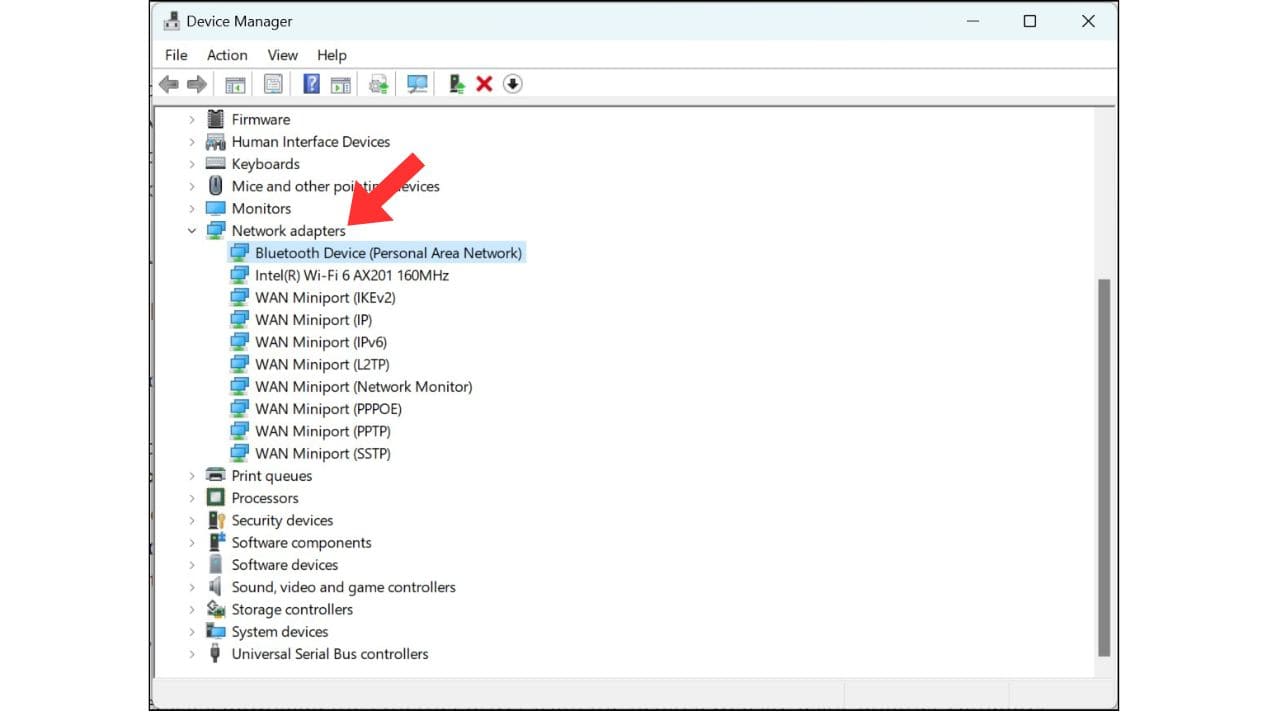
- Right-click on the Start icon and select “Device Manager.”
- Under “Network Adapters,” find your Ethernet adapter.
- Right-click and select “Update Driver.” Try both “Search automatically for drivers” and “Browse my computer for drivers” options.

Step 4: Bonus Tip – DNS Settings
Sometimes, changing DNS settings can help improve connectivity. Here’s how you can do it:
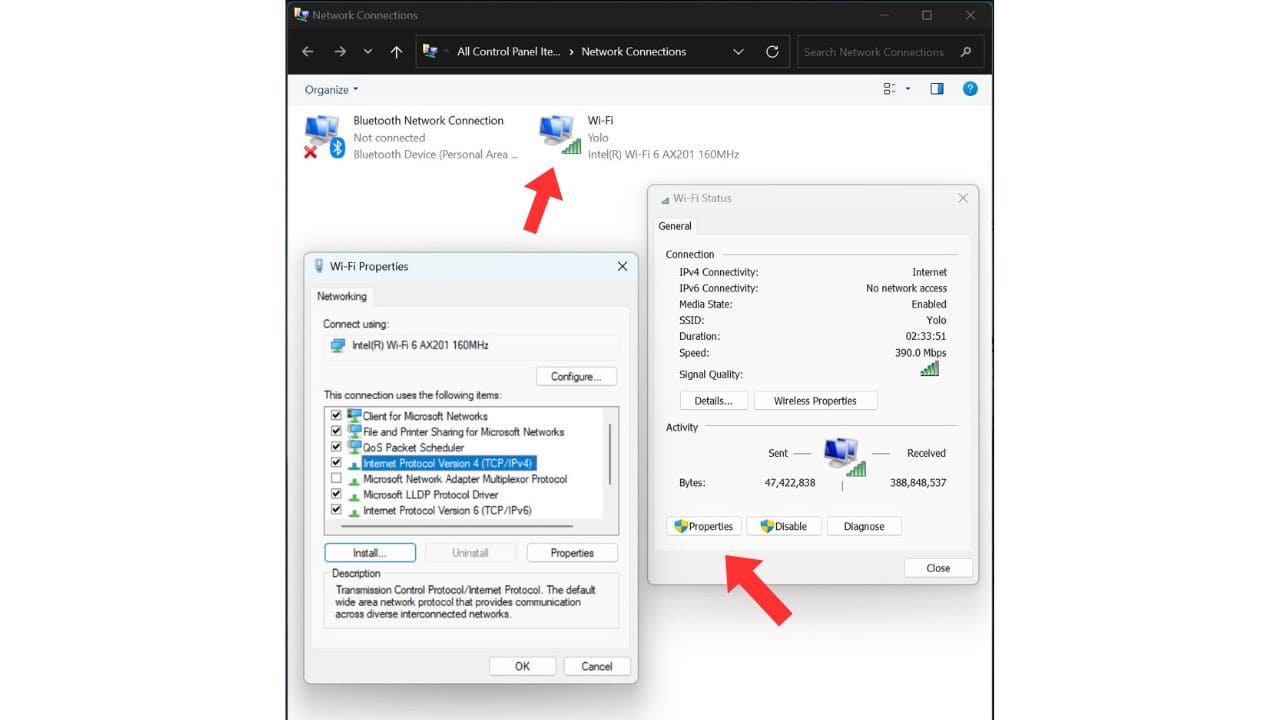
- Run the command prompt by right-clicking on the Start icon and selecting “Run.”
- Type “ncpa.cpl” and click “OK.”
- Right-click on your Ethernet connection, go to “Properties,” and select “Internet Protocol Version 4 (TCP/IPv4).”
- Configure DNS settings: Choose “Obtain an IP address automatically” and either “Obtain DNS server address automatically” or use Google’s DNS servers: “Preferred DNS server: 8.8.8.8” and “Alternate DNS server: 8.8.4.4.”

Step 5: Download Driver from Realtek Website (if necessary)
If the issue persists, download the Ethernet driver from the Realtek website using another computer and install it on the affected PC. Visit Realtek’s official website and search for the appropriate driver for your Windows version.
By following these steps, you should be able to resolve the Ethernet connectivity issue. We hope this article was helpful. If you found this guide useful, If you have any questions or successfully fixed the problem, let us know in the comments below. Have a wonderful day!