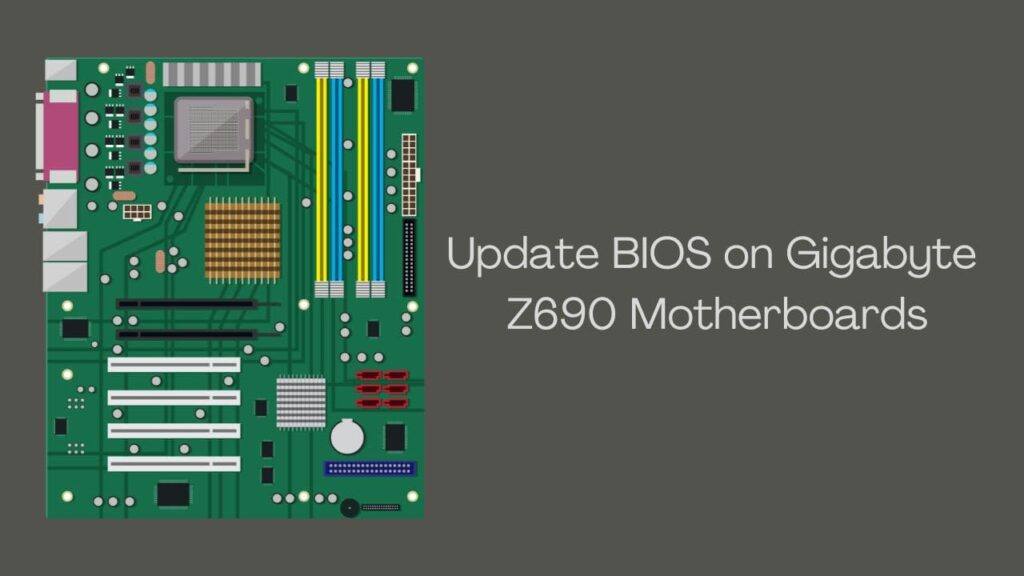
Today, we’ll guide you through the process of updating the BIOS on your Gigabyte Z690 motherboards. Specifically, we’ll be working with the Gigabyte Z690 Elite AX DDR4. This BIOS update is essential for installing Windows on an M.2 drive, so let’s get started.
Prerequisites:
- A Gigabyte motherboard
- A power supply
- A flash drive (preferably under 32GB)
- We’re using an 8GB 2.0 flash drive with LED indicators for this article.
Step 1: Preparing the Flash Drive
First, insert your flash drive into the computer from which you’ll download the BIOS. To ensure you don’t format the wrong USB drive, disconnect any other drives. Follow these steps:
- Right-click on the USB drive, select “Format,” and choose the FAT32 file system if it’s not already selected.
- Start the format with the default settings and click “OK” when finished.
Step 2: Downloading the BIOS
- Go to the support page for your specific motherboard on the Gigabyte website.
- Make sure you are on the correct motherboard revision.
- Navigate to the “Downloads” section and find the most recent BIOS update (usually at the top of the list).
- Download the BIOS update and save it directly to the USB drive.
| Audio | Version | Size | Date | Download |
|---|---|---|---|---|
| Realtek HD Audio Driver for DCH | [6.0.9313.1] | 18.88 MB | Aug 08, 2022 | Download |
| Realtek HD Audio Driver | [6.0.9373.1] | 38.08 MB | Jul 25, 2022 | Download |
| Realtek HD Audio Driver | [6.0.9235.1] | 17.82 MB | Nov 02, 2021 | Download |
Step 3: Preparing the Flash Drive
- After downloading, navigate to the USB drive where you saved the file.
- Right-click on the file and extract it to the root directory, removing any subfolders.
- Delete all other files on the USB drive, keeping only the BIOS file, which usually ends with the version number. In our case, it’s “f7.”
- Rename the BIOS file to “GIGABYTE.bin” (capitalized “GIGABYTE” and lowercase “bin”).
- Eject the USB drive safely.
Step 4: Updating the BIOS
Now that the BIOS is on the flash drive, let’s proceed with updating the motherboard’s BIOS.
- Set up your motherboard with the power supply.
- Connect the 8-pin CPU connector to the motherboard.
- Connect the 24-pin connector to the motherboard.
- Plug in and switch on the power supply.
- Insert the flash drive into the designated BIOS USB slot, which is usually labeled.
- Locate the “Q Flash Plus” button on your motherboard and press it. The power supply should light up, indicating that the BIOS update is in progress.
- Watch for the LED indicator on the “Q Flash Plus” button; it should flash while the BIOS is updating. Be patient as this process may take a few minutes.
Step 5: Completing the Update
- Wait for the “Q Flash Plus” button’s orange LED indicator to stop flashing. This signals that the update is complete.
- The power supply may shut off automatically.
- You’ll see a solid LED light on your USB drive, indicating a successful BIOS update.
Conclusion:
Congratulations! you’ve successfully updated your BIOS! Now you can proceed with installing your processor and other components.