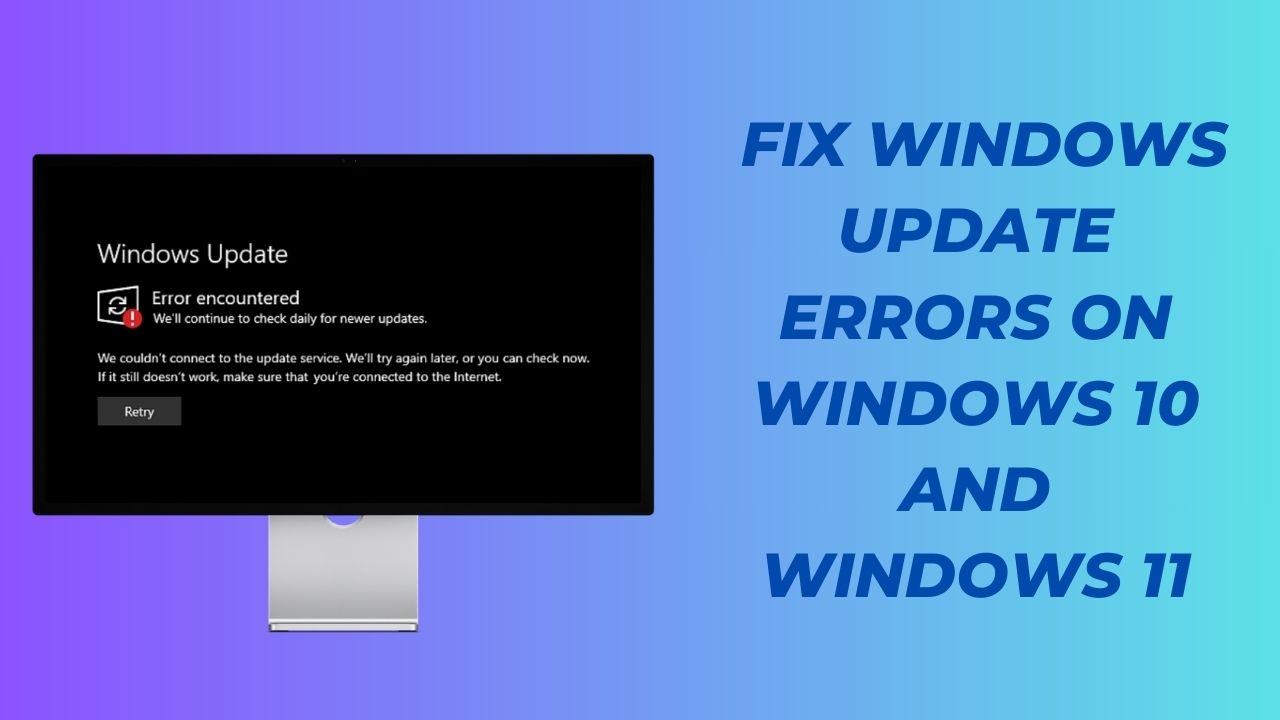
Hello everyone! I hope you’re doing well. In this article, we will guide you through fixing a common issue: Windows update errors on Windows 10 or Windows 11. If you’ve been encountering errors like “0x…” while trying to update your Windows and have tried various solutions without success, this article is for you. Follow these simple yet effective steps in sequence to resolve the issue.
Step 1: Clear Software Distribution Cache
- Click on the search icon and type “Explorer.” Select “File Explorer” from the results.
- In the left-hand panel, click on “This PC.”
- Navigate to the C drive (usually your primary drive).
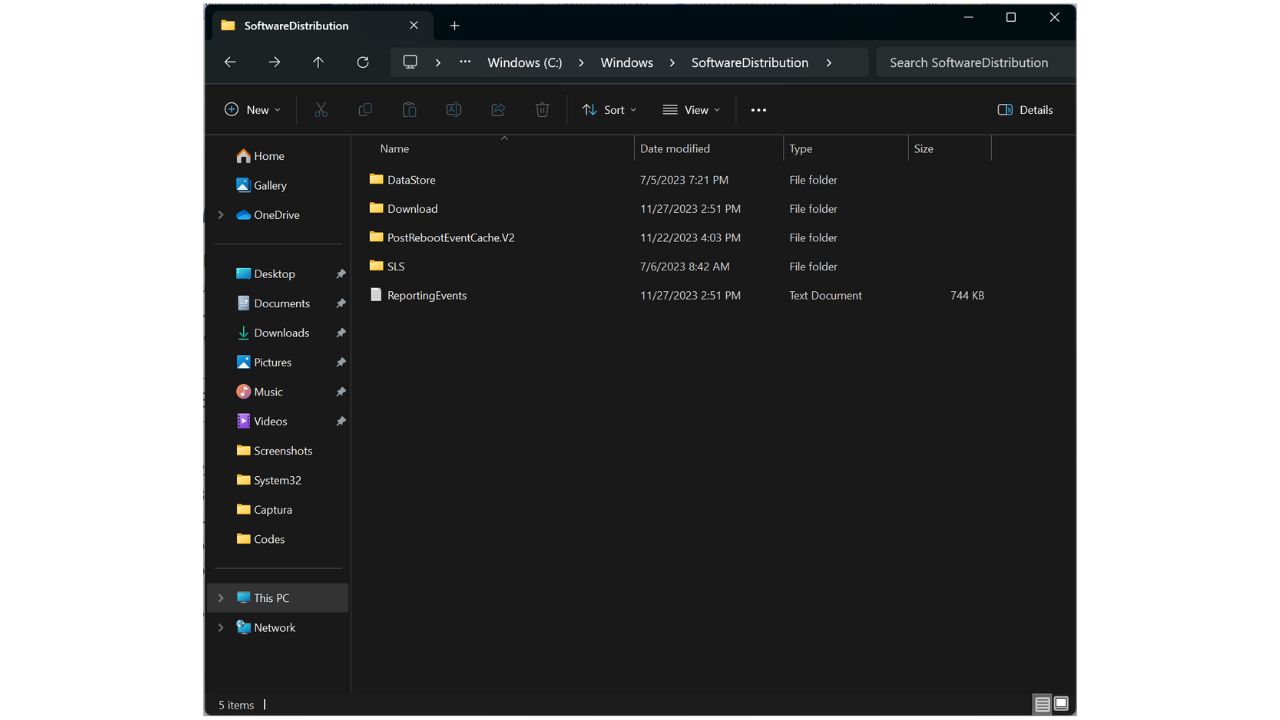
- Scroll down to find and open the “Windows” folder.
- Locate and open the “SoftwareDistribution” folder.
- Select all the files and folders inside the “SoftwareDistribution” folder (you can use Ctrl + A) and delete them.
- Confirm the deletion by pressing Shift + Delete.

Step 2: Execute the Windows Update Troubleshooter.
- Click on the search icon and type “troubleshoot.”
- Select “Troubleshoot settings” from the results.
- Under “Find other troubleshooters,” locate and click on “Windows Update.”
- Click “Run the troubleshooter” to start detecting and resolving Windows update issues. This may take some time, depending on the speed of your computer.
- After completion, restart your computer.

Step 3: Launch System File Chequer (SFC).
- Click on the search icon and type “CMD.”
- Right-click on “Command Prompt” and choose “Run as administrator.”
- Click “Yes” to confirm.
- In the Command Prompt window, type the following command:
sfc /scannowand press Enter. - The System File Checker will scan your system for issues and attempt to repair them. This process may take two to five minutes or longer.
- Once the scan is complete, restart your computer.

Step 4: Ensure Windows Update Service Is Running
- Click on the Start icon and type “run.”
- In the Run dialog box, type “services.msc” and click “OK.”
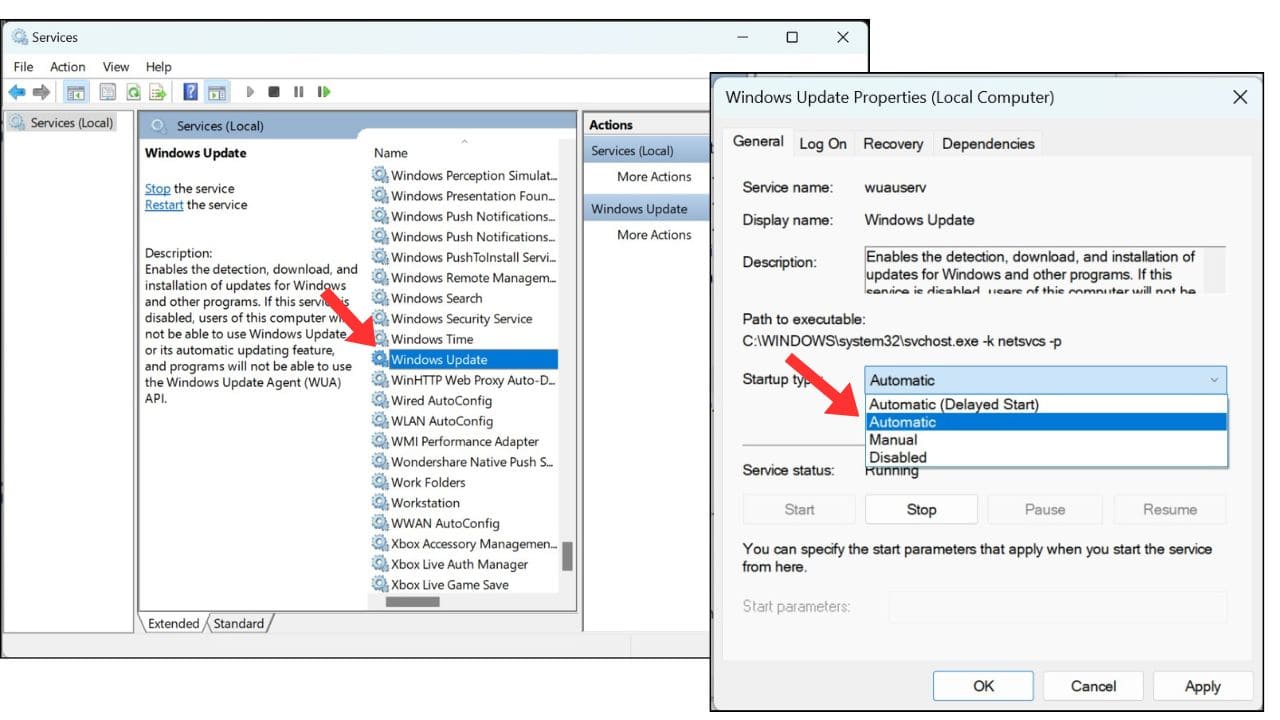
- In the Services window, scroll down and locate “Windows Update.”
- Right-click on “Windows Update” and check that it’s in the “Started” status (the option may be grayed out if it’s already running).
- Make sure the “Startup type” is set to “Automatic” or “Manual.”
- Click “OK” to save the changes.
- Optionally, you can right-click on “Windows Update” again and select “Restart” to restart the service.

Step 5: Check Background Intelligent Transfer Service (BITS)
- In the Services window, scroll down to find “Background Intelligent Transfer Service.”
- Right-click on “Background Intelligent Transfer Service.”
- If it’s not running, click “Start.”
- Set the “Startup type” to “Automatic” or “Manual.”
- Click “OK” to save the changes.

Now that you’ve completed these steps, go to the Windows Update settings and attempt to update your Windows. You should be able to install all the latest updates for your Windows 10 or Windows 11.
We hope this article has been helpful to you. Please hit the like button, subscribe, and leave a comment to let us know which step worked for you and if this article was beneficial. Your feedback motivates us to create more article like this. Have a wonderful day, and take care!