Welcome to the world of vibrant and accurate visuals on your Windows 11 computer! Ensuring that your display is properly color calibrated is crucial for a more enjoyable and accurate computing experience. Whether you’re a graphic designer, a photographer, or just someone who values the beauty of true colors on your screen, this guide will walk you through the essential steps to color calibrate your display in Windows 11. Get ready to unlock the full potential of your monitor and witness a world of stunning, true-to-life colors.

1. Open the Run Dialog:
Click on the search icon and type in “dccw” (D as in David, C as in Charlie, C as in Charlie, W as in Whiskey), then hit Enter.
2. Run as Administrator:
When the search results appear, don’t click on “Open.” Instead, right-click on “dccw” and select “Run as administrator.”

3. Welcome to Display Color Calibration:
A new window will appear with the title “Welcome to Display Color Calibration.” Click on “Next” to continue.

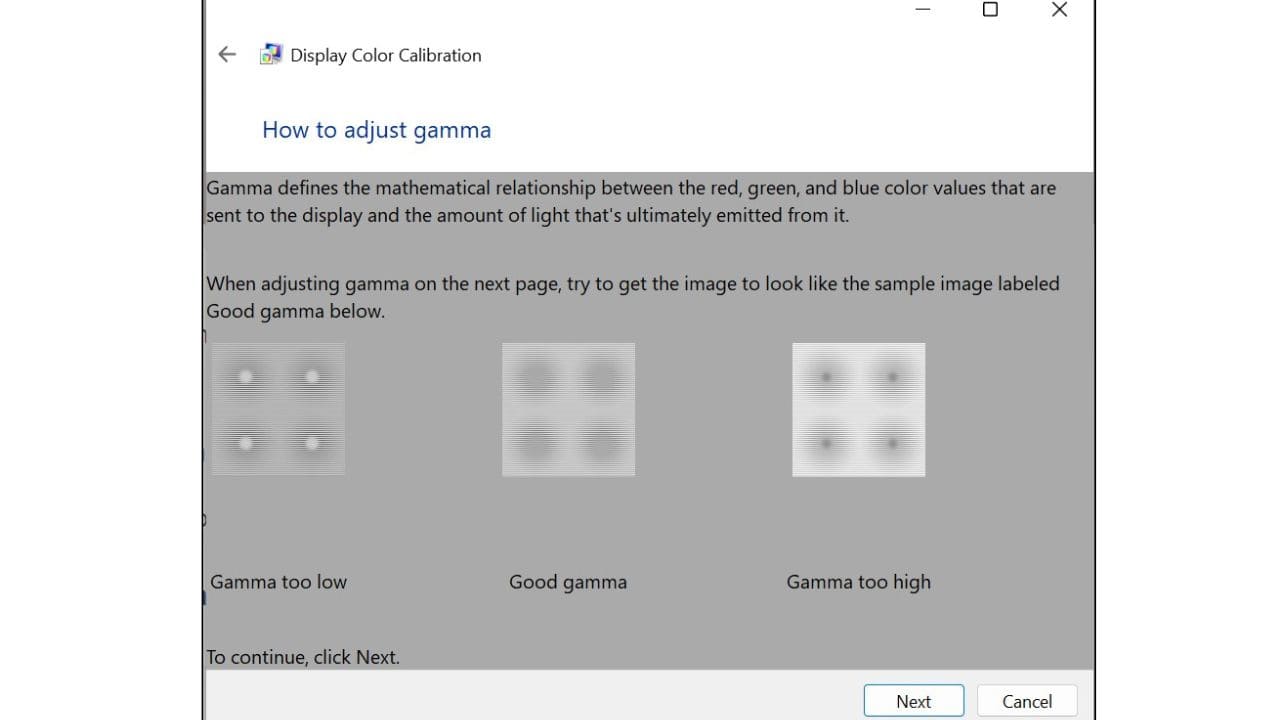
4. Gamma Settings:
You’ll see options for gamma settings, such as “Gamma too low” and “Gamma too high.” Click on “Next” to proceed.

5. Gamma Adjustment:
Adjust the gamma by moving the sliders. Click “Next” when you’re satisfied.
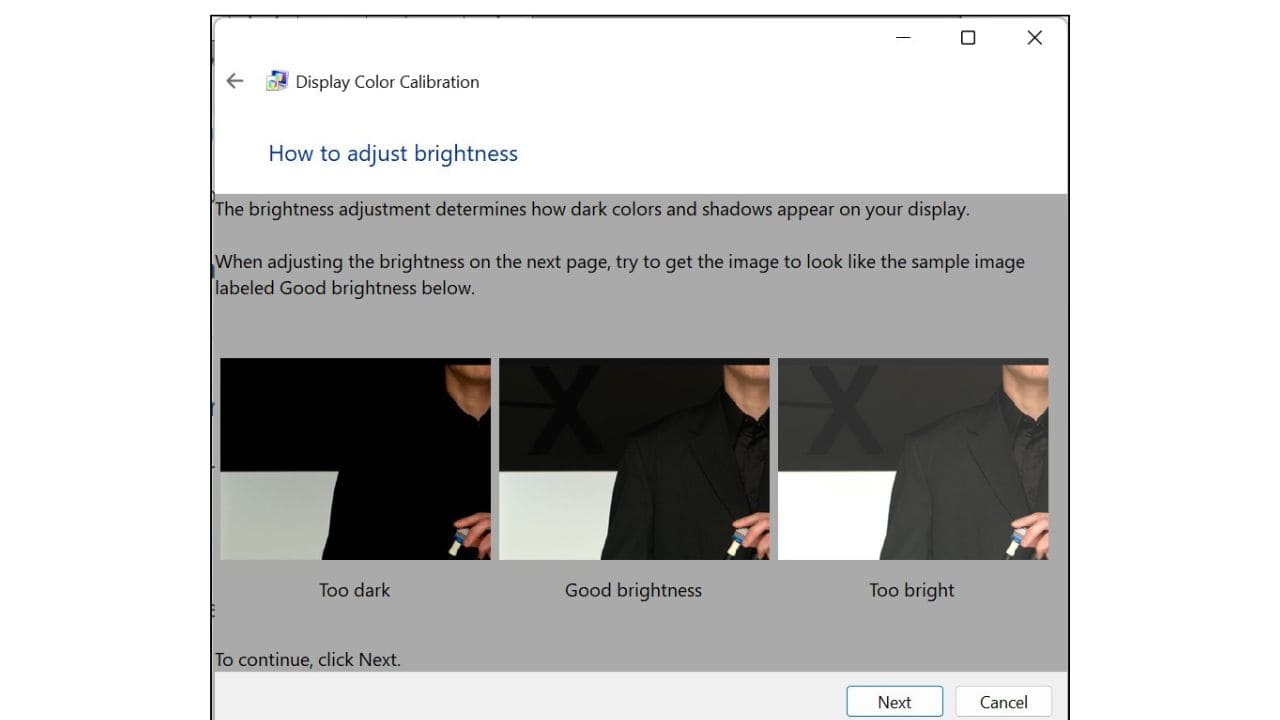
6. Brightness and Contrast:
You can adjust brightness and contrast in the next step. Click “Next” again if you want to skip this step.

7. Contrast Adjustment:
Adjust the contrast according to your preference and click “Next.”
8. Review Settings:
Click “Next” to review the settings you’ve made so far.
9. Color Balance:
In this step, you can fine-tune the color balance to your liking. Make your adjustments and click “Next.”

10. Calibration Choice:
Choose between “Previous Calibration” or “Current Calibration.” Additionally, you can enable ClearType. Click “Finish” when you’re ready.

11. ClearType:
Turn on ClearType when prompted, as it enhances text clarity.

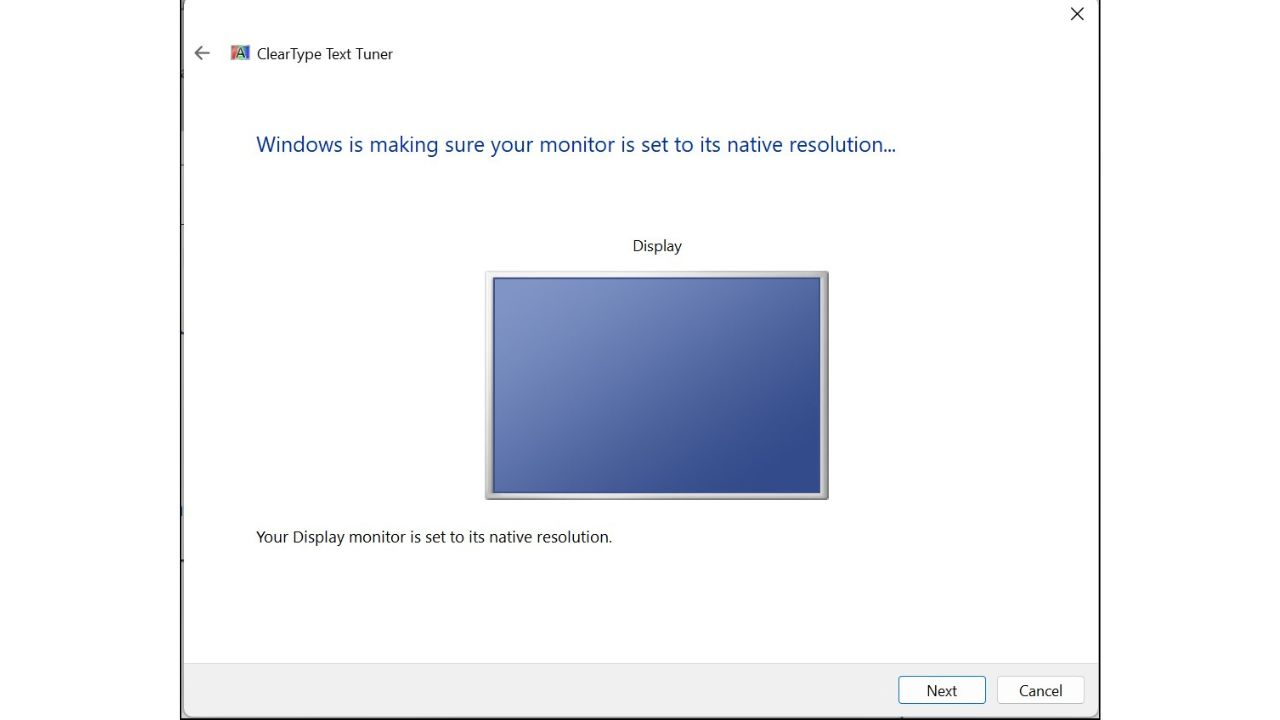
12. Monitor Resolution:
Windows will ensure your monitor is set to its native resolution. Click “Next” to continue.

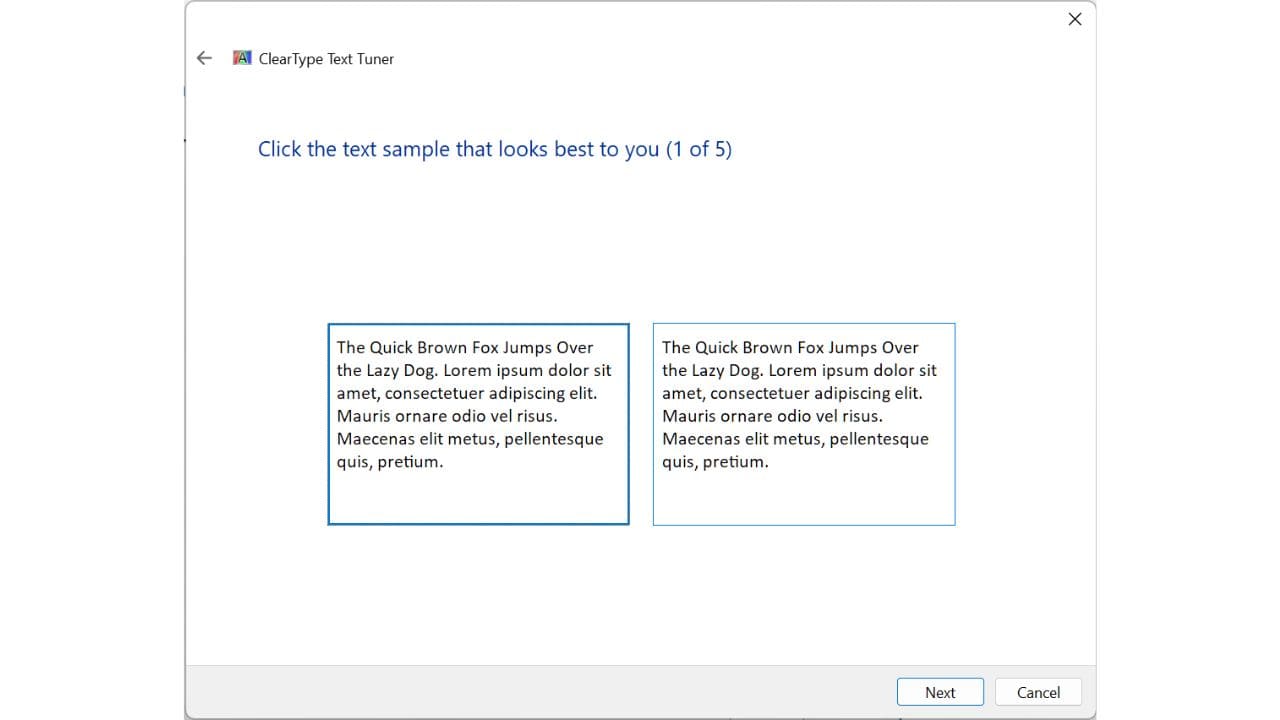
13. Text Sample:
Click on the text sample that looks best to you. This helps optimize ClearType. Click “Next.”

14. Finish:
Review your settings one last time, then click “Finish” to complete the calibration process.
That’s it! You’ve successfully calibrated your display in Windows 11. These methods are also relevant to Windows 10. If this process fixed any issues with your screen’s color balance, brightness, or contrast, please let us know in the comment section below.
Thank you for following this article, and have a wonderful day!