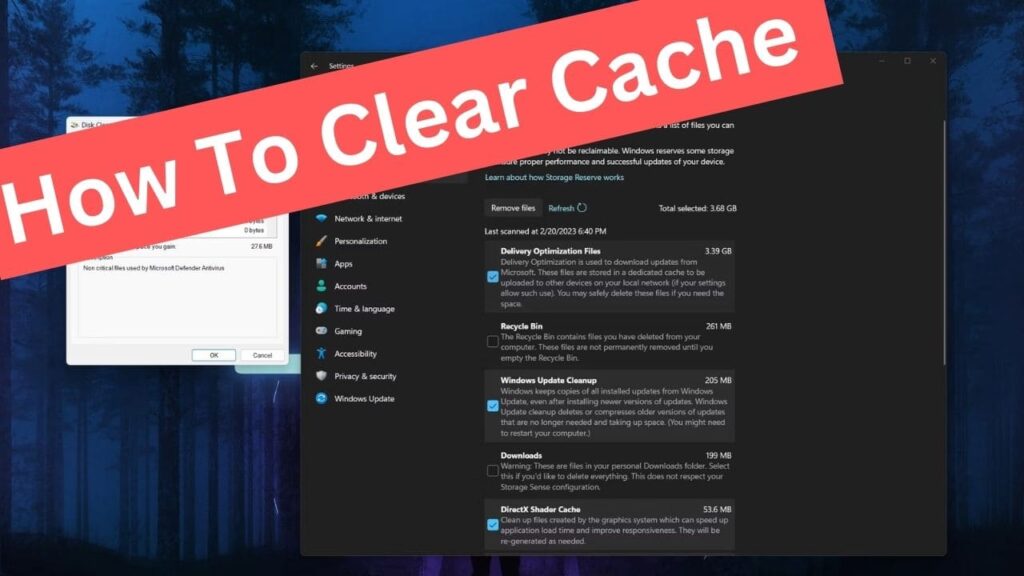
Clearing out the cache on your Windows 11 PC is essential for preventing errors, improving processing speeds, and freeing up disk space. Regularly performing this task will help keep your system running smoothly. In the following seven segments, we’ll provide you with step-by-step instructions on how to accomplish this.

Step 1: Opening Disk Cleanup
- Begin by opening Disk Cleanup. To do this, go to the search bar in the taskbar and type “Disk Cleanup.”
- Select the “Disk Cleanup” option.
Step 2: Drive Selection
- In the Drive Selection window, choose the drive where you have Windows 11 installed. For most users, this will be the C drive.
- Once you’ve selected the appropriate drive, click “OK.”
Step 3: Clearing Cache
- In the Disk Cleanup utility, you’ll see various types of cache and other files.
- Check all the boxes to select and remove all the cache files listed.
- After selecting the files, click “OK.”
- A confirmation prompt will appear, asking if you want to permanently delete these files. Confirm by selecting “Delete Files.”
Step 4: Flushing the DNS Cache
- To resolve security issues like DNS spoofing or internet connection problems, you can clear the DNS cache.
- Right-click the Start menu and select “Windows Terminal.”
- Type the following command in the terminal:
ipconfig /flushdns - Press Enter on your keyboard.
- If done correctly, you’ll receive the message “Successfully flushed the DNS resolver cache.”
Step 5: Clearing the Microsoft Store Cache
- If you encounter issues with the Microsoft Store, such as a damaged cache or loading problems, clearing the Microsoft Store cache may help.
- Right-click the Start menu and select “Run.”
- Type “wsreset.exe” in the Run box and press Enter.
- A blank window will appear and close automatically once the cache has been cleared.
Step 6: Removing Location Cache
- Windows stores your location history as a cache file for 24 hours, which can sometimes become corrupted.
- Right-click the Start menu and select “Settings.”
- In the Settings menu, select “Privacy and Security.”
- Scroll down to the “Apps Permissions” section and click on “Location.”
- Near the bottom of the page, click “Clear” to remove the location cache.
Step 7: Clearing File Explorer History
- If your files and folders are not loading correctly or are slow to load, clearing the File Explorer history can resolve the issue.
- With the File Explorer window open, click the “View” tab.
- Select the “Options” icon in the “See More” section on the right.
- Under the “General” tab in the Privacy section, click “Clear” next to “Clear File Explorer history” to remove the cache from File Explorer.
Step 8: Clearing Browser Cache
- To ensure smooth browsing, regularly clear the cache in your web browser. Here are steps for the three most used browsers on Windows 11.
Google Chrome
- Click the three-dot menu icon in the upper right.
- Hover over “More Tools” and select “Clear browsing data.”
- In the pop-up window, check the box next to “Cached images and files.”
- Choose a time range and click “Clear data.”
Microsoft Edge (built into Windows 11)
- Click the three-dot menu icon and select “Settings.”
- In the left pane, select “Privacy, Search, and Services.”
- Under “Clear browsing data,” click “Choose what to clear,” select items, and click “Clear now.”
Firefox
- Click the menu icon and select “Settings.”
- In the left pane, select “Privacy and Security.”
- Under “History,” click “Clear History,” select items, and click “OK.”
Step 9: Using Storage Sense
- To clear your PC’s cache automatically, you can utilize Storage Sense, built into Windows 11.
- Right-click the Start menu and select “Settings.”
- In “System,” go to “Storage.”
- In “Storage Management,” toggle on “Storage Sense.”
- Check the box for “Keep Windows running smoothly by automatically cleaning up temporary system and app files.”
- Configure a cleanup schedule according to your preference.
- To run it immediately, scroll down and select “Run Storage Sense now.”
Thank you for Reading! If you found this article helpful, give it a thumbs up and share it with others. In our Windows 11 series.