In this article, I’m going to show you how to install Windows 11 with a local account using a USB drive.
Normally, Windows requires you to install with a Microsoft account as you see here, and you will not have the option to install it in any other way. With this method, we will enable the option to install without an internet connection, which allows you to set up with just a local user account as you could with previous versions of Windows. This works great for fresh new builds or clean reinstalls.

Requirements:
- A USB drive (8 gigabytes or larger).
- A computer connected to the internet for downloading and creating the installation media.
- Ensure the USB drive has no important data since everything on it will be deleted.
Before we get to the installation process, I’ll show you what to do if you’re planning on doing this on a computer running Windows 10 already.
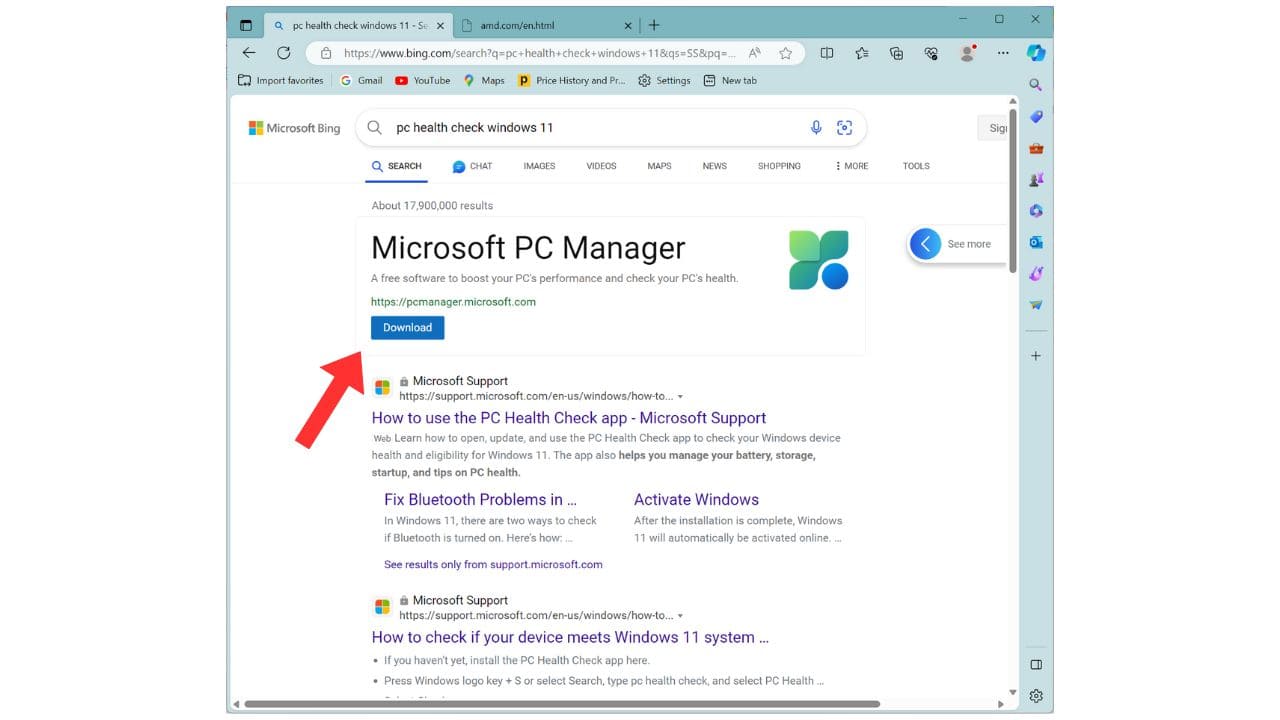
- Run PC Health Check: Determine if your PC can run Windows 11. Search for “PC health check” in the Windows search bar. If it’s not installed, you can download it from the Windows 11 website.
- Download the PC Health Check App: Save the file to a location and remember where you saved it. Double-click on the file to launch the PC health check app.

Once you’ve confirmed your computer is compatible, you can move on to the next step.
Creating Installation Media:
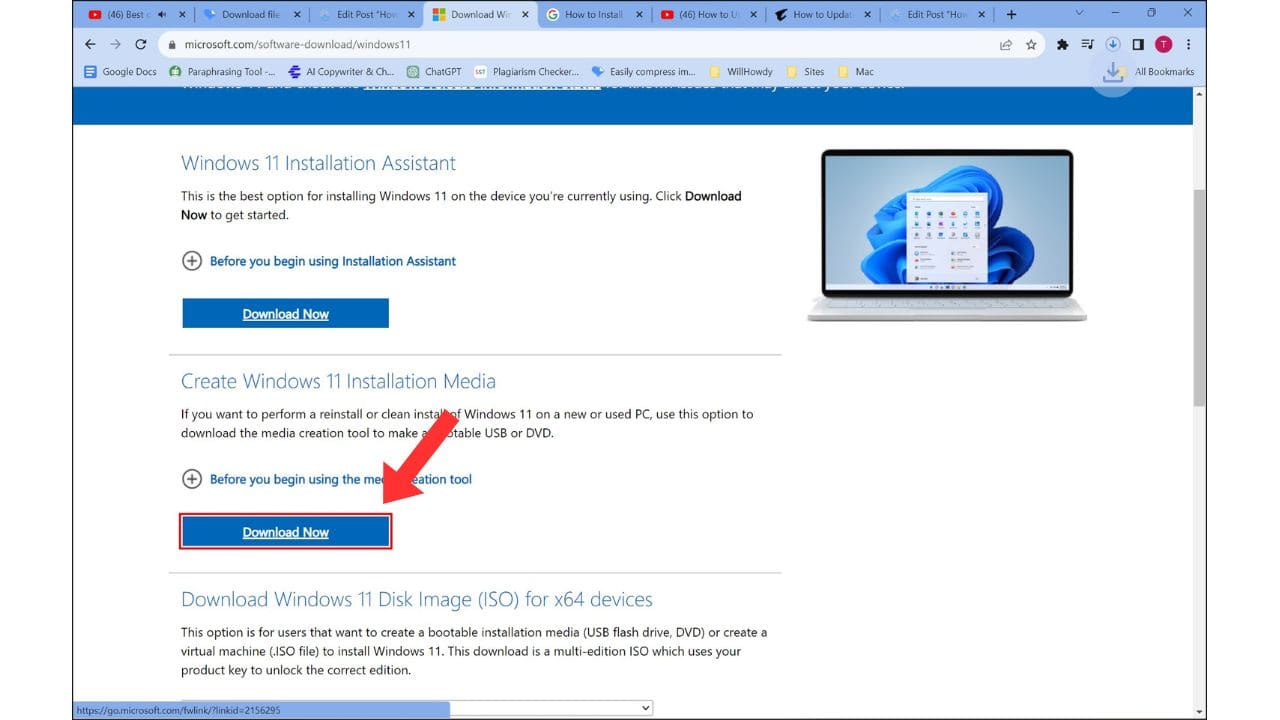
- Visit the Windows 11 download page.
- Locate the section under “Create Windows 11 Installation Media.”
- Click the “Download Now” button to download the media creation tool to your computer.
- Insert the USB drive into your computer.
- Navigate to where you downloaded the media creation tool and double-click it to launch.
- Accept the license agreement and choose your language and edition options.
- Select “USB flash drive” as the media type and choose the appropriate drive.
- Wait for the tool to create the installation media.
- Safely eject the USB drive if you plan to install Windows on a different computer.

Booting from USB:
- To modify the boot order, you may need to enter the BIOS.. Common keys to enter the BIOS are F1 or Delete. Change the first boot option to the USB drive.
- Some BIOS may have a boot override option that allows you to directly boot from the USB drive.
- Save changes and reset your computer to boot from the USB drive.
Installing Windows 11:
- Follow the Windows setup process, select language and keyboard settings, and click “Next.”
- Enter your Windows product key or choose “I don’t have a product key.”
- Choose the Windows edition you want to install and accept the license agreement.
- Select “Custom install” and delete existing partitions until you have only one drive with allocated space.
- Click “Next” and let the installation process complete.
Setting Up a Local Account:
- Ensure your computer is not connected to the internet (unplug the network cable).
- Hold down Shift and press F10 to bring up the command prompt.
- Type “oobe\bypass” and press Enter.
- The computer will reboot.
- Choose your country and keyboard language. Do not connect to the internet.
- Choose “I don’t have internet” to create a local account.
- Follow the prompts to create your username, password, and security questions.
- Adjust privacy settings as desired and click “Accept.”
- Once the setup is complete, you can connect to the internet and download any necessary drivers.